Comment Faire des Pompes : Guide de Forme, Muscles & Variantes
Why Push-Ups Are the Best Bodyweight Exercise
The push-up is the single most effective upper-body exercise you can do anywhere — no equipment, no gym, no excuses. It builds real-world pushing strength, develops chest and shoulder definition, and reinforces core stability better than almost any other bodyweight move.
According to a 2019 study published in JAMA Network Open, men who could complete more than 40 push-ups had a 96% lower risk of cardiovascular disease events compared to those who could do fewer than 10. That finding alone makes the push-up worth mastering — not just for aesthetics, but for your long-term health.
Muscles Worked
The standard push-up is a compound movement that engages multiple muscle groups simultaneously:
- Primary movers: Pectoralis major (chest), anterior deltoids (front shoulders), triceps brachii (back of arms)
- Stabilizers: Serratus anterior (shoulder blade control), rectus abdominis and obliques (core), gluteus maximus (hip alignment)
- Secondary: Biceps brachii (eccentric control), rhomboids and mid-trapezius (scapular retraction during the bottom position)
Unlike isolation exercises that target one joint, the push-up forces your entire upper body and core to work as a coordinated unit — which is exactly how muscles function in real life.
Push-Up: Step-by-Step Form
Proper form is what separates a productive push-up from a wasted one. Follow these steps exactly:
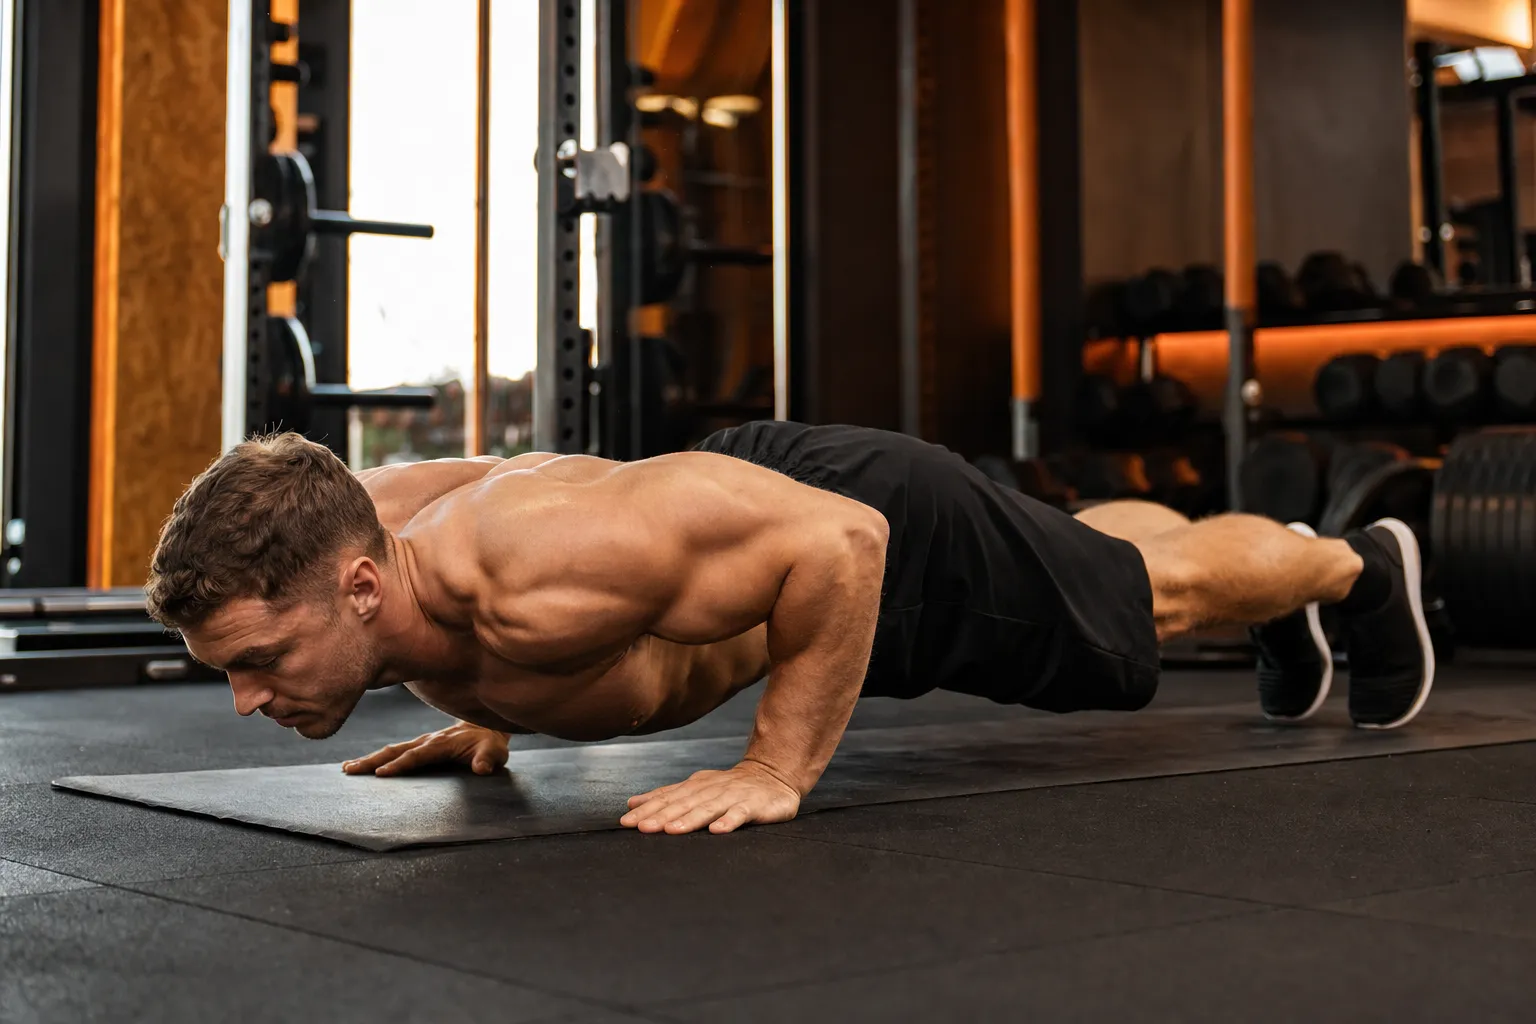
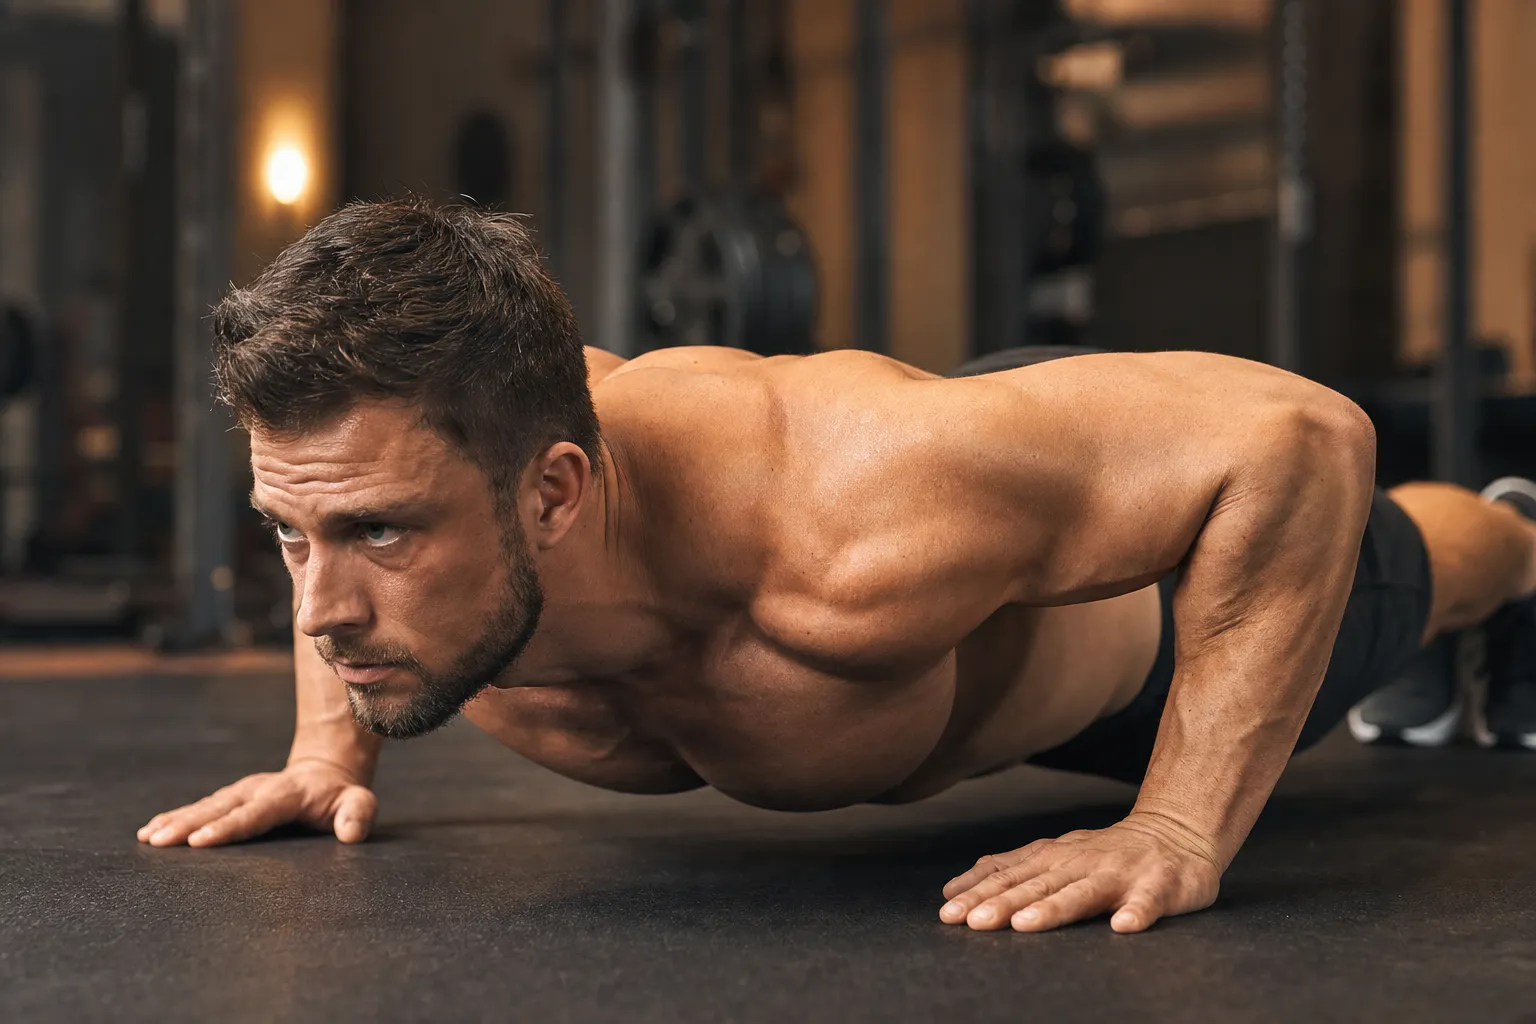
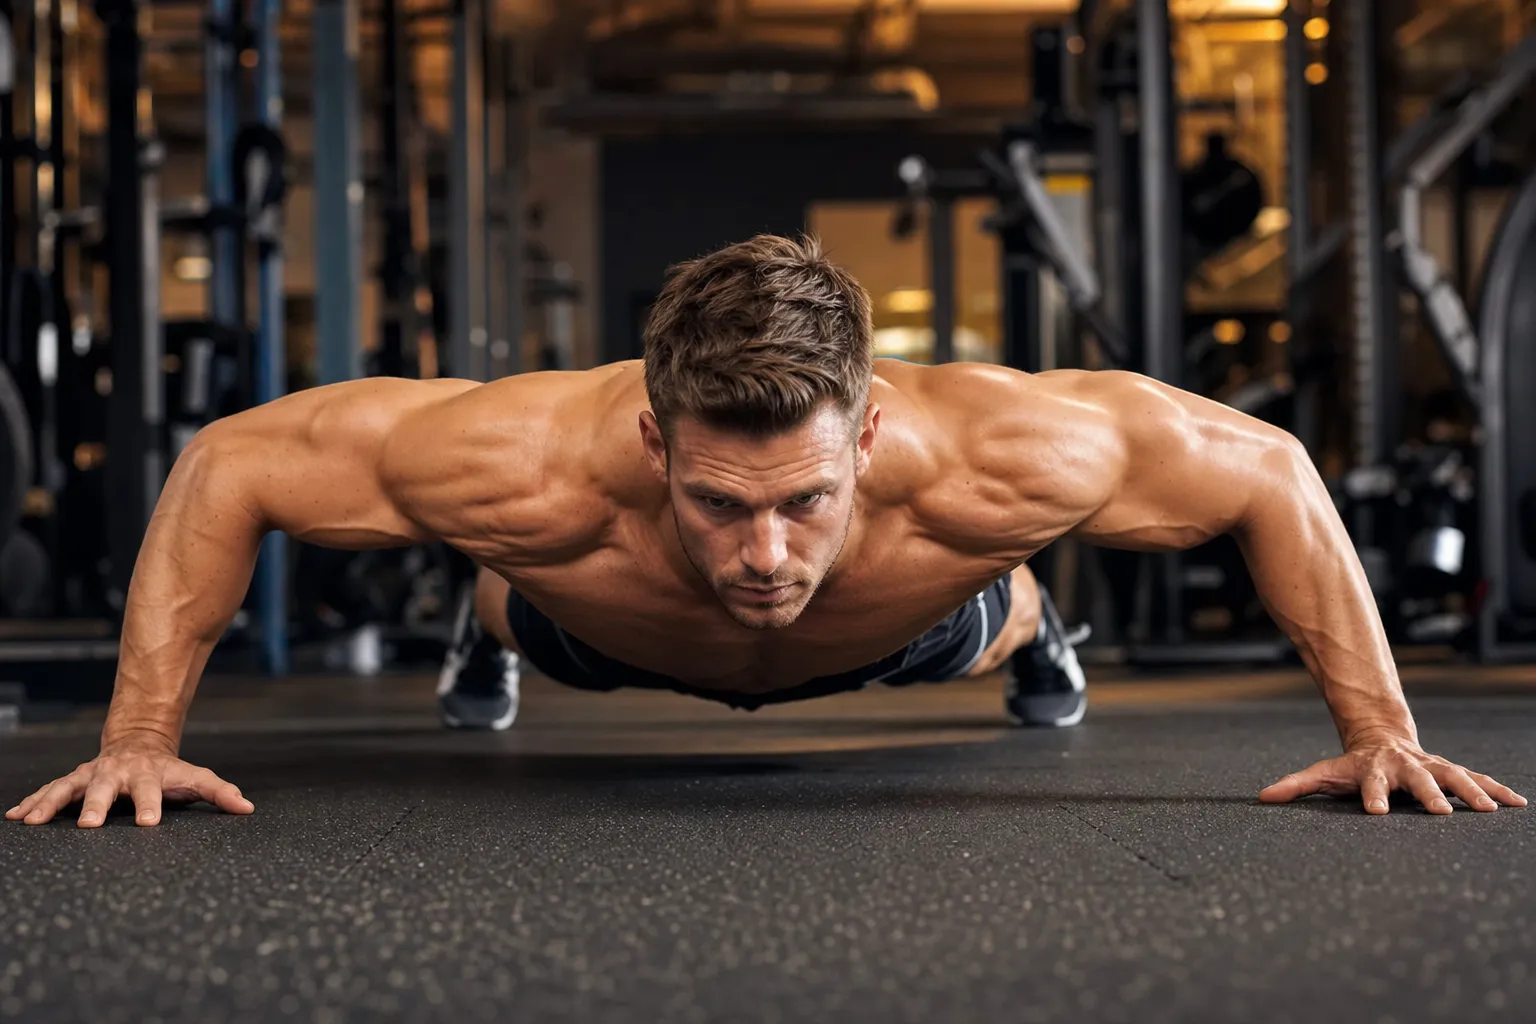
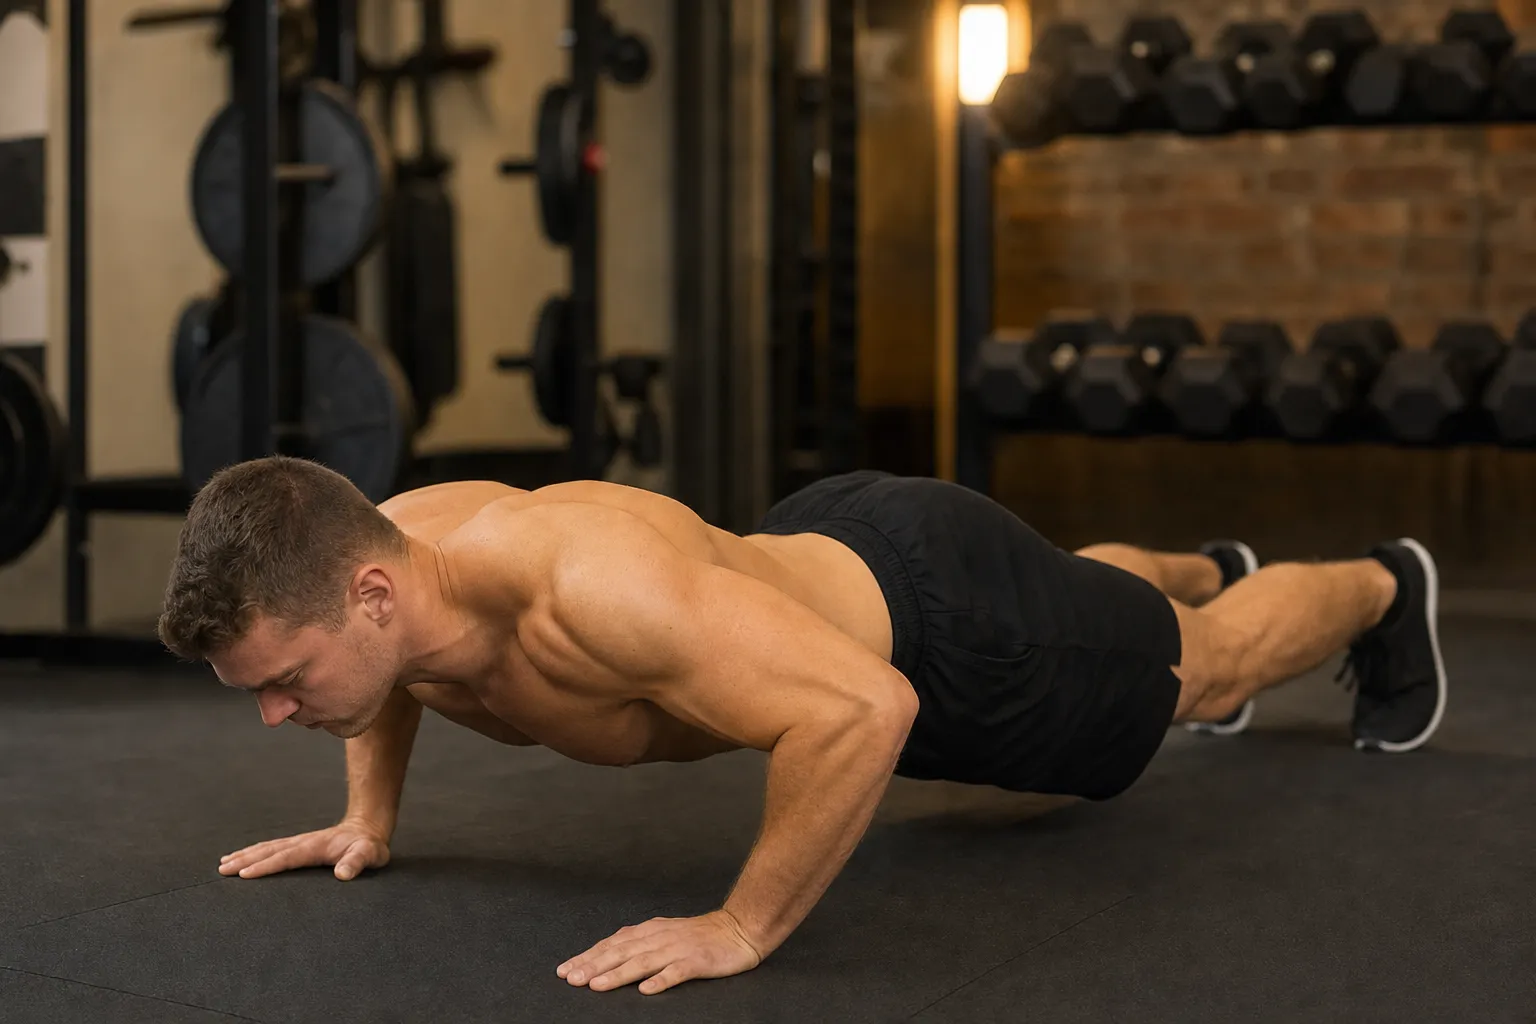
Step 1 — Set up: Place your hands on the floor slightly wider than shoulder-width apart. Fingers point forward or slightly outward. Extend your legs behind you, feet hip-width apart, weight on your toes. Your body should form a straight line from the crown of your head to your heels.
Step 2 — Brace: Squeeze your glutes and brace your abs as if someone is about to punch your stomach. Pull your shoulder blades down and back — this engages your lats and protects your shoulders. Look at the floor about a foot in front of your hands, not straight down.
Step 3 — Lower: Bend your elbows to lower your chest toward the floor. Your elbows should track at roughly a 45-degree angle from your torso — not flared out wide (stresses shoulders) and not pinned to your ribs (limits chest activation). Keep your core tight so your hips do not sag or pike up. Lower until your chest is about a fist's width from the floor.
Step 4 — Press: Drive through your palms to push yourself back to the starting position. Fully extend your arms at the top without locking your elbows aggressively. Exhale as you push up. Maintain the straight-body plank position throughout — imagine a broomstick running from your head to your heels that must stay in contact the entire time.
A properly executed push-up should take about 3 seconds: 2 seconds down, 1 second up. Rushing through reps sacrifices muscle activation and increases injury risk. According to the National Academy of Sports Medicine (NASM), tempo control is one of the most underused tools for maximizing push-up effectiveness.
Push-Up Variations for Every Level
One of the push-up's greatest strengths is its scalability. Whether you are working toward your first rep or looking for a new challenge, there is a variation that fits your current ability.
| Variation | Difficulty | Main Focus | Who It's For |
|---|---|---|---|
| Wall push-up | Beginner | Basic pushing pattern | First-timers, rehab |
| Incline push-up | Beginner | Chest + triceps | Can't do floor push-up yet |
| Knee push-up | Beginner | Full range of motion | Building up to standard |
| Standard push-up | Intermediate | Chest + shoulders + triceps | Baseline for everyone |
| Wide push-up | Intermediate | Greater chest emphasis | Chest-focused training |
| Decline push-up | Advanced | Upper chest + front delts | Feet elevated on bench |
Progression strategy: Master each variation for 3 sets of 12–15 clean reps before moving to the next. In my experience working with beginners, the jump from knee push-ups to standard push-ups is the hardest — expect it to take 2–4 weeks of consistent practice. Incline push-ups are a better bridge than knee push-ups because they use the full plank position and train core stability from day one.
Unlike barbell exercises where you simply add weight, push-up progression requires changing leverage. Elevating your feet shifts more of your body weight onto your hands, making the movement harder. Elevating your hands does the opposite. This simple principle gives you an infinite ladder of difficulty without any equipment.
Common Push-Up Mistakes
Most people have been doing push-ups wrong for years without realizing it. These are the form errors I see most often, and each one reduces effectiveness or increases injury risk:
1. Sagging hips: When your core gives out, your hips drop toward the floor, turning the push-up into a partial movement that skips chest activation and compresses your lower back. Fix: Squeeze your glutes hard before every rep and think about pushing your belly button toward your spine.
2. Flared elbows: Elbows pointing straight out to the sides (a T-shape) puts the rotator cuff under excessive shear force. Fix: Angle your elbows at about 45 degrees from your torso — think of an arrow shape, not a T.
3. Partial range of motion: Stopping halfway down or not fully extending at the top. This cuts both muscle activation and flexibility benefits in half. Fix: Lower until your chest nearly touches the floor, and press until your arms are straight at the top.
4. Head dropping: Craning your neck forward to get your chin closer to the floor. This strains the cervical spine and is usually a compensation for weak chest muscles. Fix: Keep your ears in line with your shoulders — look at the floor about a foot ahead of your hands.
5. Going too fast: Bouncing off the floor with momentum instead of controlling the movement. Fast reps reduce time under tension and make it easy to hide form breakdown. Fix: Take 2 seconds on the way down and 1 second pushing up. If you cannot maintain this tempo, the variation is too hard — drop to an easier one.
Key Takeaways
| Point | Recommendation |
|---|---|
| Primary muscles | Chest, front shoulders, triceps — core and glutes stabilize |
| Elbow angle | 45 degrees from torso (arrow, not T-shape) |
| Tempo | 2 seconds down, 1 second up — no bouncing |
| Range of motion | Chest near floor at bottom, arms straight at top |
| Progression | Wall → Incline → Knee → Standard → Wide → Decline |
Quick checklist — fix these before your next set:
- Glutes squeezed and core braced before every rep
- Elbows at 45 degrees, not flared wide
- Full range: chest close to floor, arms straight at top
- Neck neutral — ears aligned with shoulders
- Controlled tempo — no momentum or bouncing
Next steps: If standard push-ups are still out of reach, start with 3 sets of incline push-ups (hands on a bench) three times per week. Once you hit 15 clean reps, lower the surface and repeat. For those already comfortable with standard push-ups, try adding 3 sets of wide push-ups to your chest day alongside dumbbell chest exercises for balanced development.
Questions Fréquentes
Quels muscles travaillent les pompes ?
Les pompes ciblent principalement le grand pectoral, le deltoïde antérieur et les triceps. Les muscles stabilisateurs incluent le dentelé antérieur, les abdominaux et les fessiers.
Combien de pompes pour un débutant ?
Commencez par 2-3 séries de 5-10 répétitions sur les genoux ou en inclinaison. Concentrez-vous sur la forme. Visez 3 séries de 15 pompes standards en 4-6 semaines.
Les pompes sont-elles mauvaises pour les épaules ?
Non, si bien exécutées. Gardez les coudes à environ 45 degrés du torse. En cas de douleur, passez aux pompes inclinées et baissez la surface progressivement.