腕立て伏せの正しいやり方:フォームと筋肉とバリエーション
腕立て伏せの利点は何ですか?
腕立て伏せは、どこでもできる最も効果的な上半身エクササイズです — 器具もジムも必要なく、言い訳の余地がありません。実用的なプッシュ力を養い、胸と肩のディフィニションを高め、ほぼ他の自重種目では匹敵しないコア安定性を強化します。
2019年にJAMA Network Openに掲載された研究によると、40回以上の腕立て伏せができる男性は、10回未満の男性と比べて心血管疾患イベントのリスクが96%低いことが分かりました。この結果だけでも、腕立て伏せをマスターする価値は十分にあります — 見た目だけでなく、長期的な健康のために。
働く筋肉
標準の腕立て伏せは、複数の筋群を同時に活性化するコンパウンド種目です:
- プライマリー:大胸筋(胸)、前部三角筋(前肩)、上腕三頭筋(腕の後ろ)
- スタビライザー:前鋸筋(肩甲骨の制御)、腹直筋と腹斜筋(コア)、大臀筋(骨盤のアライメント)
- セカンダリー:上腕二頭筋(遠心性制御)、菱形筋と中部僧帽筋(ボトムポジションでの肩甲骨内転)
単関節を狙うアイソレーション種目とは異なり、腕立て伏せは上半身全体とコアを協調的なユニットとして働かせます — これこそが日常生活における筋肉の働き方です。
腕立て伏せを正しいフォームで行うにはどうすればいいですか?
正しいフォームこそが、効果的な腕立て伏せと無駄な腕立て伏せを分けます。以下のステップを正確に実行してください:
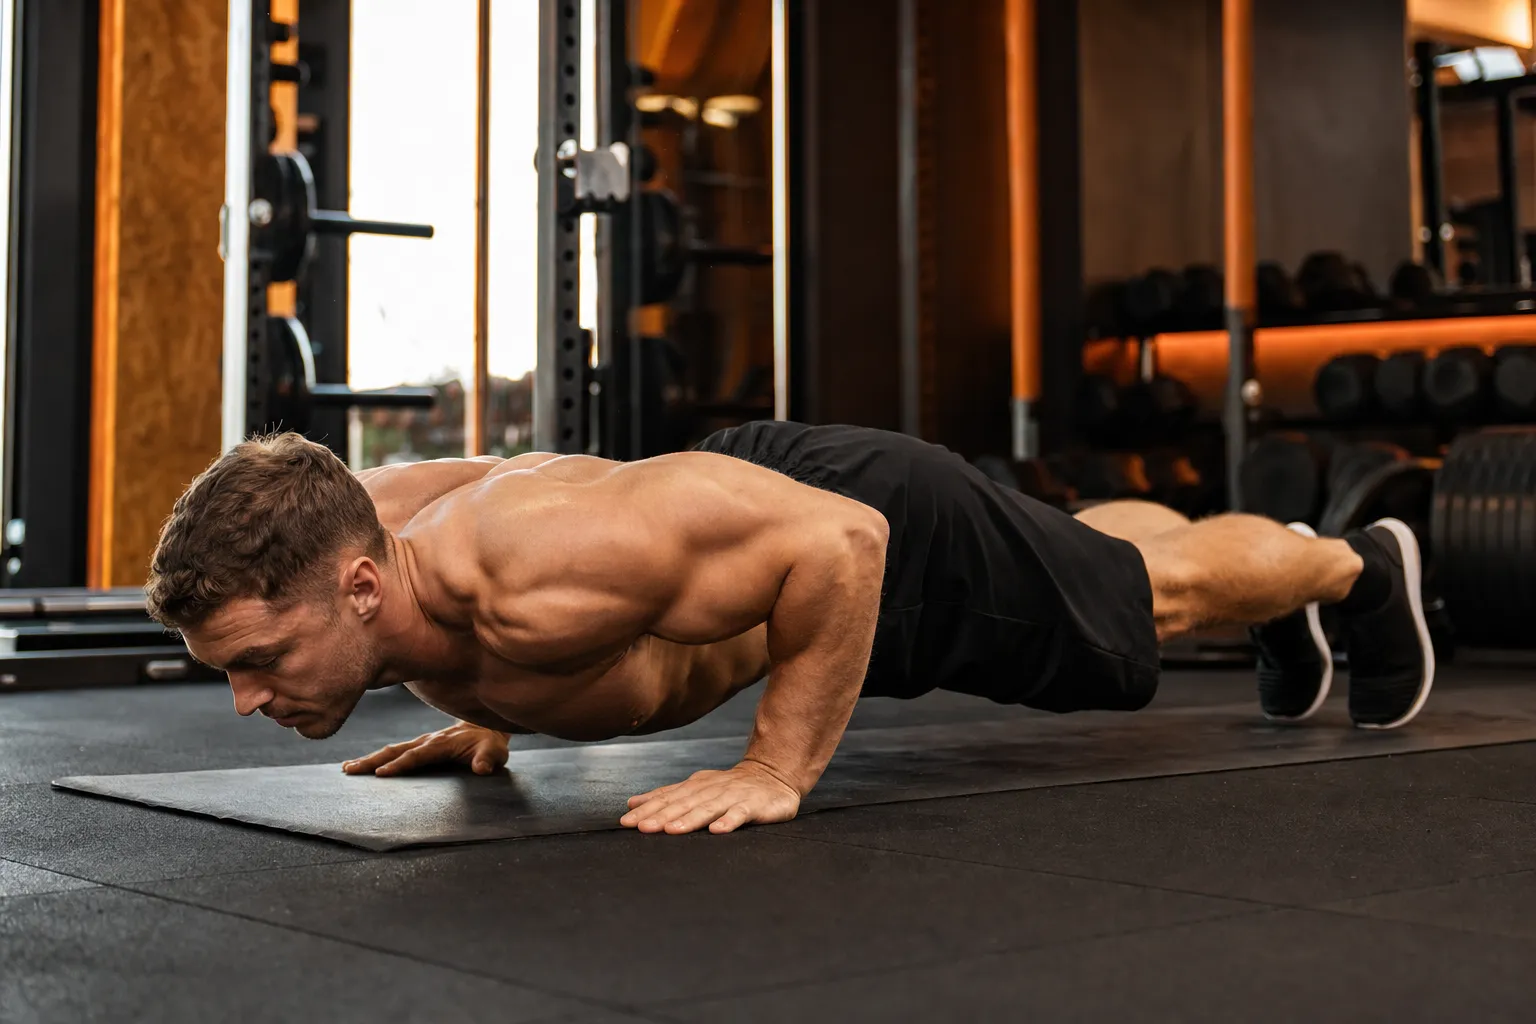
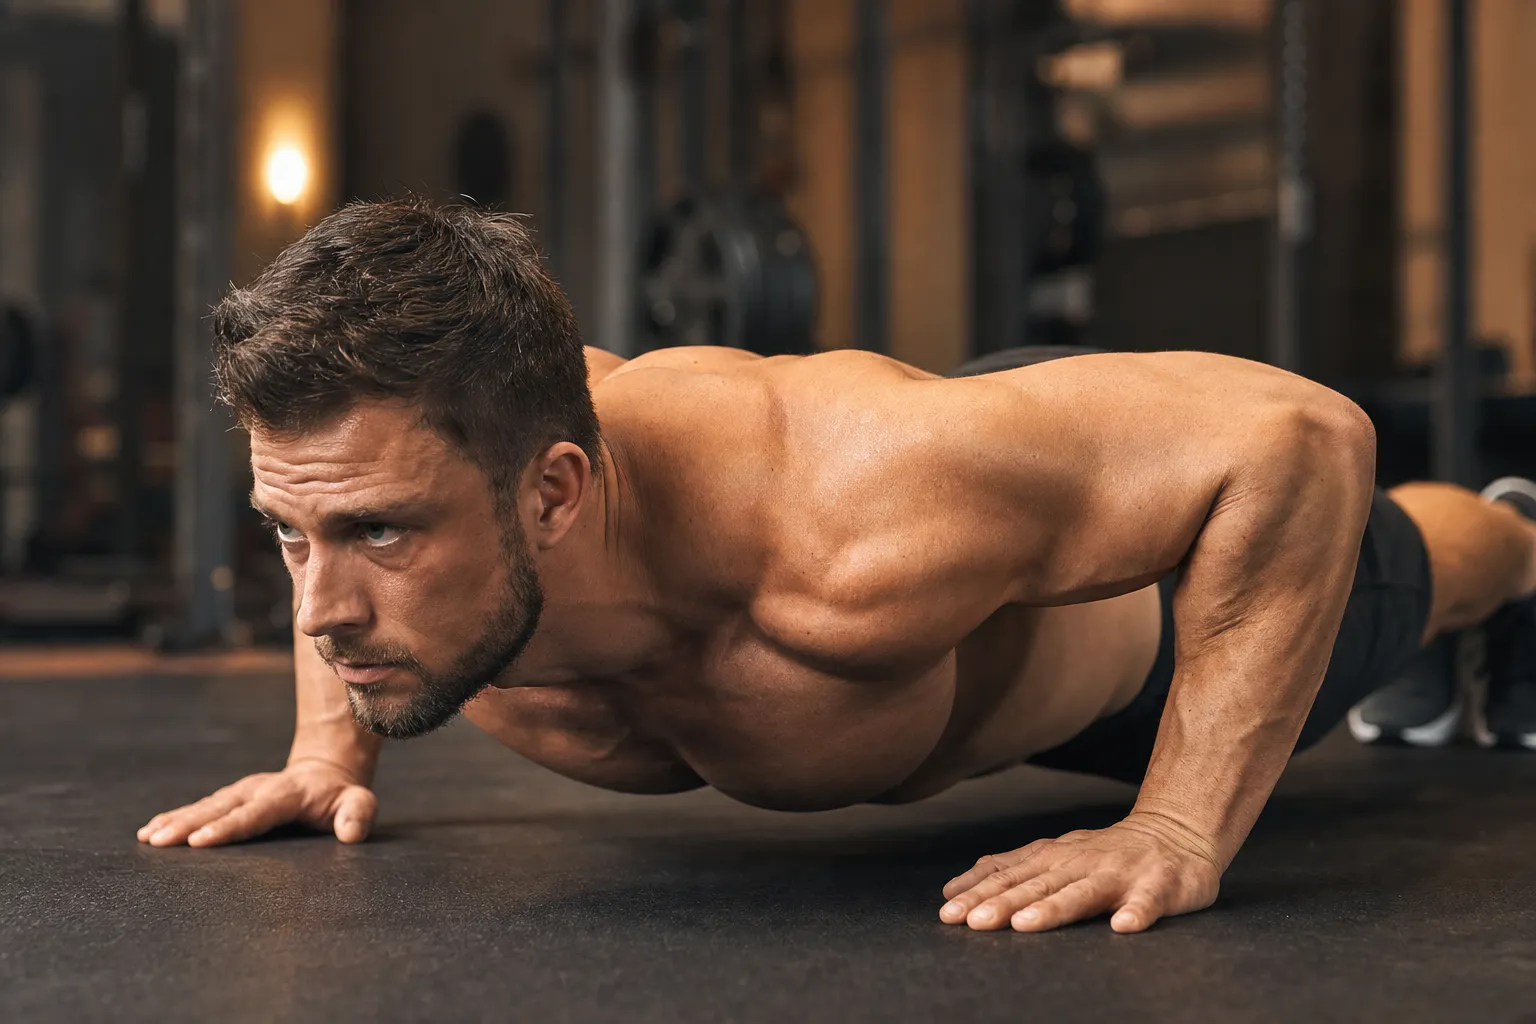
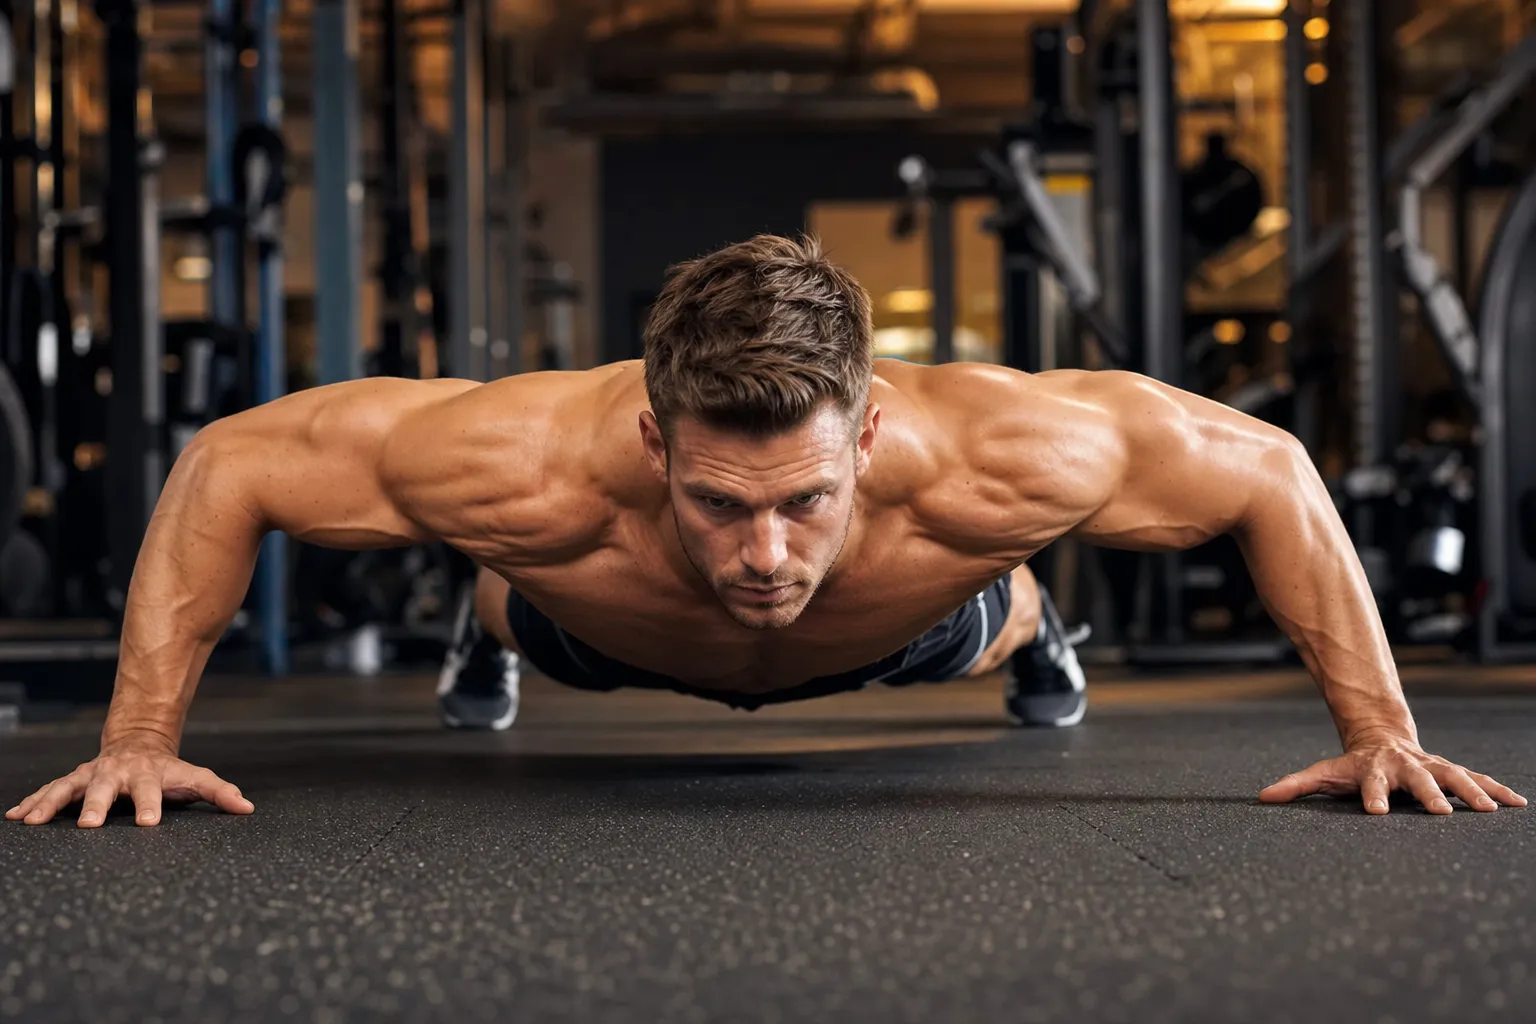
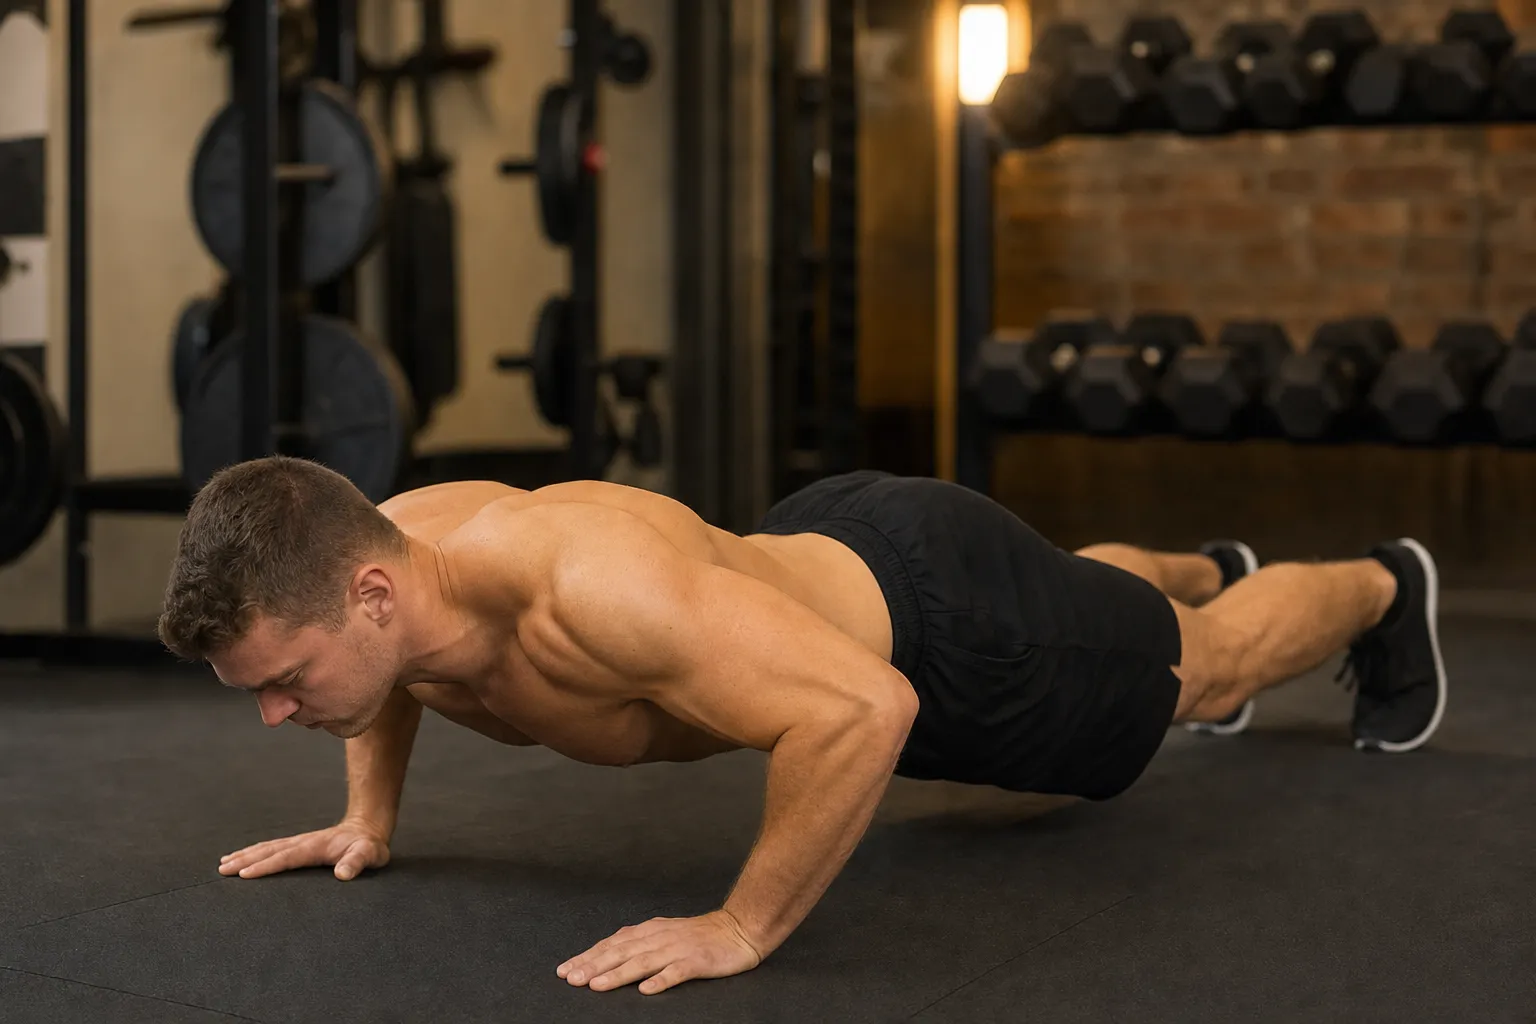
ステップ1 — セットアップ:手を肩幅より少し広めに床に置きます。指は前方またはやや外向きに。脚を後ろに伸ばし、足は腰幅、つま先に体重を乗せます。頭頂部からかかとまで一直線になるようにします。
ステップ2 — ブレース:お尻をぎゅっと締め、誰かにお腹を殴られそうな感覚で腹筋を固めます。肩甲骨を下に引いて寄せる — これが広背筋を活性化し肩を守ります。手の約30cm前方の床を見つめ、真下は見ないようにします。
ステップ3 — 下ろす:肘を曲げて胸を床に近づけます。肘は体幹から約45度の角度 — 広く開きすぎず(肩への負担)、肋骨に密着しすぎないように(胸の活性化が制限される)。コアを締めて腰が落ちたり浮いたりしないようにします。胸が拳1つ分の高さになるまで下ろします。
ステップ4 — プッシュ:手のひらで床を押してスタートポジションに戻ります。トップで腕を完全に伸ばしますが、肘を強くロックしないように。押し上がるときに息を吐きます。全体を通してまっすぐなプランク姿勢を保つ — 頭からかかとまで箒の柄が常に接触していると想像してください。
正しく実行された腕立て伏せは約3秒かかります:下ろすのに2秒、上げるのに1秒。急いで反復すると筋肉の活性化が犠牲になり、怪我のリスクが高まります。National Academy of Sports Medicine(NASM)によると、テンポコントロールは腕立て伏せの効果を最大化するための最も過小評価されているツールの一つです。
全レベル向けの腕立て伏せのおすすめバリエーションは何ですか?
腕立て伏せの最大の強みの一つは、難易度の調整ができることです。最初の1回に向けて取り組んでいる方にも、新たなチャレンジを求めている方にも、現在のレベルに合ったバリエーションがあります。
| バリエーション | 難易度 | メインフォーカス | 対象者 |
|---|---|---|---|
| 壁腕立て伏せ | 初級 | 基本的なプッシュパターン | 初心者、リハビリ |
| インクライン腕立て伏せ | 初級 | 大胸筋 + 三頭筋 | 床上の腕立て伏せがまだできない人 |
| 膝つき腕立て伏せ | 初級 | フルレンジ | 標準腕立てへの移行 |
| 標準腕立て伏せ | 中級 | 大胸筋 + 三角筋 + 三頭筋 | すべての人のベースライン |
| ワイド腕立て伏せ | 中級 | 大胸筋への強いアプローチ | 胸特化トレーニング |
| デクライン腕立て伏せ | 上級 | 上部大胸筋 + 前部三角筋 | 足をベンチに乗せる |
プログレッション戦略:各バリエーションで3セット×12〜15回のクリーンな反復を達成してから次に進みます。初心者を指導した経験から、膝つきから標準腕立てへの移行が最も難しく — 2〜4週間の継続的な練習が必要と考えてください。インクライン腕立て伏せは膝つきよりも良いブリッジです。完全なプランク姿勢を使い、初日からコア安定性をトレーニングできるからです。
バーベル種目のように単に重量を追加するのとは異なり、腕立て伏せの進歩にはテコの変更が必要です。足を高くすると体重のより多くが手に移り、動作が難しくなります。手を高くすると逆の効果があります。このシンプルな原理により、器具なしで無限の難易度の段階が得られます。
腕立て伏せで最もよくある間違いは何ですか?
ほとんどの人は何年も間違ったフォームで腕立て伏せをしていて気づいていません。以下は私が最もよく目にするフォームエラーで、それぞれが効果を下げるか怪我のリスクを高めます:
1. 腰が落ちる:コアが疲れると腰が床に向かって下がり、腕立て伏せが部分動作になって胸の活性化が飛ばされ、腰椎が圧迫されます。修正:各反復の前にお尻を強く締め、おへそを背骨に向けて引っ込めるイメージで。
2. 肘が開きすぎ:肘が真横を向く(T字型)と、回旋筋腱板に過度なせん断力がかかります。修正:肘を体幹から約45度に — T字ではなく矢印の形をイメージしてください。
3. 可動域が不十分:途中で止まる、またはトップで完全に伸ばさない。これにより筋肉の活性化と柔軟性のメリットが半減します。修正:胸がほぼ床に触くまで下ろし、トップで腕をまっすぐ伸ばす。
4. 頭が下がる:顎を床に近づけるために首を前に出す。これは頸椎に負担をかけ、通常は大胸筋の弱さの代償です。修正:耳を肩のラインに保つ — 手の約30cm前方の床を見つめる。
5. 速すぎる:勢いで床からバウンドし、動作をコントロールしない。速い反復は張力下の時間を減らし、フォームの崩れを隠しやすくします。修正:下ろすのに2秒、上げるのに1秒。このテンポを維持できないなら、そのバリエーションは難しすぎます — より簡単なものに下げてください。
重要なポイントは何ですか?
| ポイント | 推奨 |
|---|---|
| 主な筋肉 | 大胸筋、前部三角筋、三頭筋 — コアと大臀筋が安定化 |
| 肘の角度 | 体幹から45度(T字ではなく矢印) |
| テンポ | 2秒下ろす、1秒上げる — バウンドしない |
| 可動域 | 下で胸を床に近づけ、上で腕をまっすぐ伸ばす |
| プログレッション | 壁 → インクライン → 膝つき → 標準 → ワイド → デクライン |
クイックチェックリスト — 次のセットの前に確認:
- 各反復の前にお尻を締めコアを固める
- 肘は45度、開きすぎない
- フルレンジ:下で胸を床に近づけ、上で腕をまっすぐ伸ばす
- 首はニュートラル — 耳を肩のラインに
- コントロールされたテンポ — 勢いやバウンドなし
次のステップ:標準の腕立て伏せがまだできない場合は、インクライン腕立て伏せ(手をベンチに置く)を3セット、週3回から始めましょう。15回クリーンにできたら台の高さを下げて繰り返します。すでに標準腕立て伏せに慣れている人は、胸の日にワイド腕立て伏せ3セットを加え、バランスの取れた発達のためにダンベル胸トレーニングと組み合わせてみてください。
よくある質問
腕立て伏せはどの筋肉を鍛える?
主に大胸筋、前部三角筋、上腕三頭筋を鍛えます。補助的に前鋸筋、腹直筋、大臀筋が体幹を安定させます。
初心者は何回腕立て伏せをするべき?
膝つきや incline腕立てから2-3セット×5-10回で開始。フォーム重視。4-6週間で3セット×15回の標準腕立てを目指しましょう。
腕立て伏せは肩に悪い?
正しいフォームなら問題ありません。肘を体幹から約45度に保ちましょう。痛みがある場合はincline腕立てに切り替え、徐々に高さを下げてください。
腕立て伏せができない、どう始めればいい?
ほとんどの初心者は胸筋と体幹の強さが足りません。壁腕立てから始め、ベンチやテーブルを使ったインクライン腕立て、膝つき腕立てと段階的に進めましょう。各段階は次の段階に必要な筋力を養います。週3回の継続的な練習が、不定期な最大努力よりも効果的です。
毎日腕立て伏せをしてもいい?
お勧めしません。筋肉は回復して成長するために24〜48時間必要です。週3回、各3〜4セットのトレーニングは、毎日の最大努力よりも良い結果をもたらし、肩や肘の使いすぎによる怪我のリスクも減らします。